
This post contains affiliate links. As an Amazon Associate, Millennial Skin earns from qualifying purchases — at no extra cost to you.
A salon-worthy facial at home is completely doable, and once you own a few basics, it’s essentially free. You don’t need a fancy spa membership or a standing appointment to get that glowing, just-treated complexion — you need the right sequence and a slow, intentional pace. Estheticians follow a predictable rhythm: clean the canvas, lift away dead skin, soften with warmth, treat with a mask, move the lymph, then seal everything in. Below, we’ll walk through each step the way a pro would, with the tools that make it easy and the cautions that keep your barrier happy. Set aside 30 to 45 minutes, dim the lights, and let’s turn your bathroom into a treatment room.
At-Home Facial at a Glance
| Step | What you do |
|---|---|
| Cleanse | Double cleanse with a balm then a gentle gel or cream wash to fully reset the skin. |
| Exfoliate | Sweep away dead cells with a mild chemical or enzyme exfoliant — gently, never aggressively. |
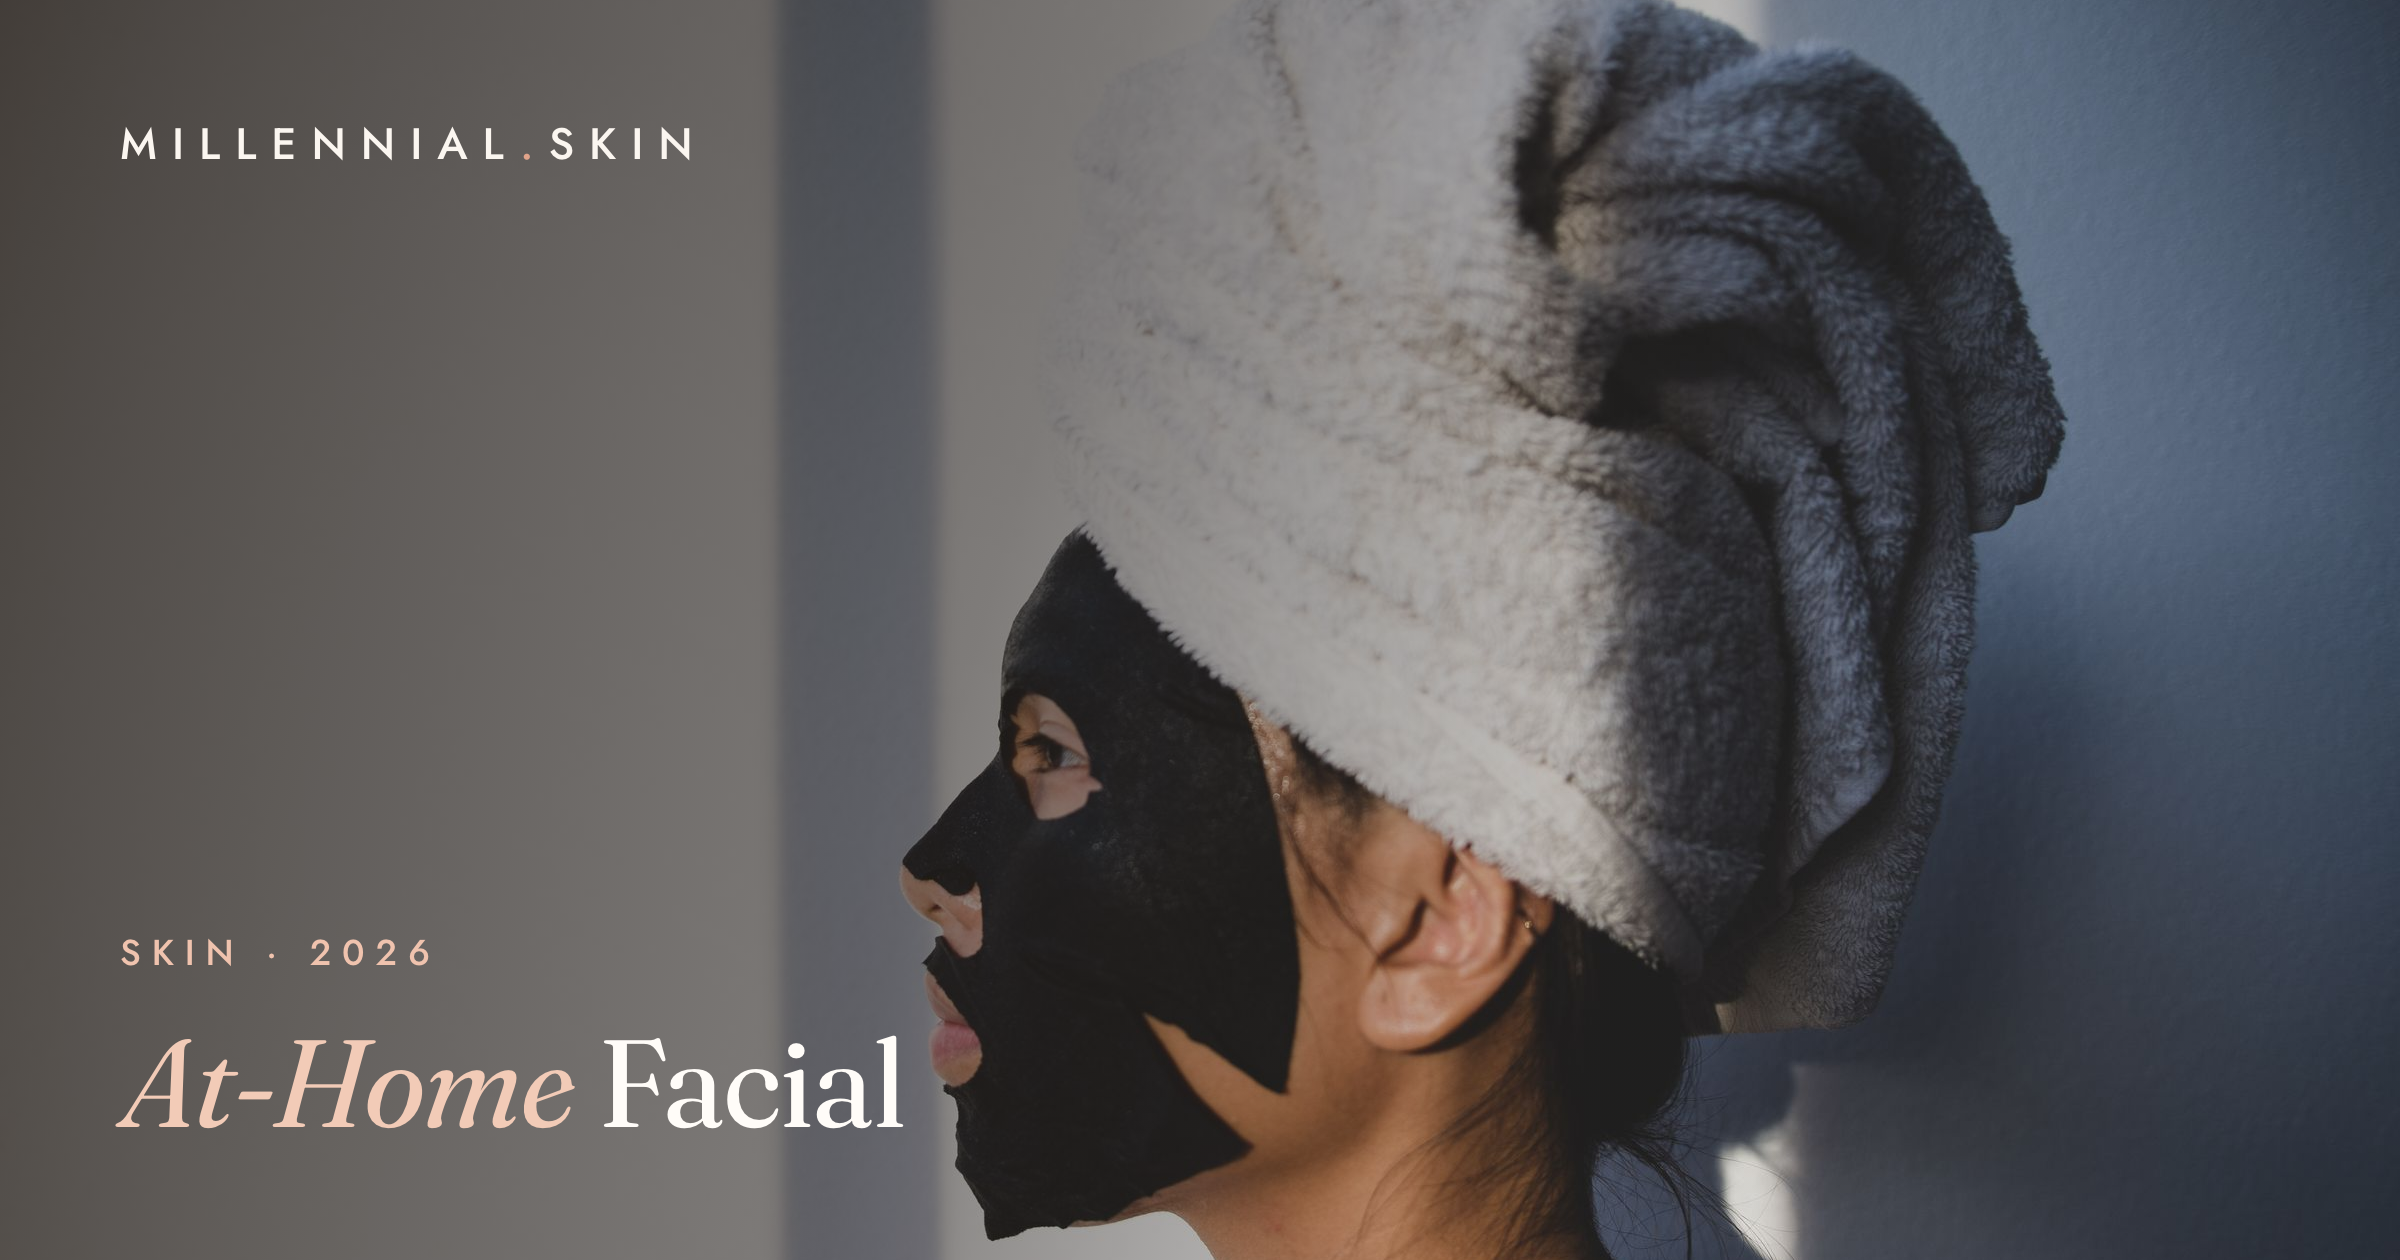
| Steam & mask | Soften pores with warm steam, then apply a clay or hydrating sheet mask. |
| Massage | Use gua sha or fingertip lymphatic strokes to de-puff and boost circulation. |
| Moisturize & SPF | Layer a serum and moisturizer to seal in benefits; add SPF if it’s daytime. |
Step 1: How Do You Properly Double Cleanse?
Start by washing twice — first with an oil-based cleanser to dissolve makeup and sunscreen, then with a water-based one to clean the skin itself. This two-step reset is the foundation every esthetician relies on, because product can’t absorb through a film of grime. Work slowly and let your hands warm the formula so it melts into the skin.
- Melt first: Massage a cleansing balm or oil onto dry skin for 30 to 60 seconds to break down makeup, SPF, and sebum.
- Rinse and follow: Splash with lukewarm water, then lather a gentle gel or cream cleanser over damp skin.
- Be gentle around the eyes: Use light pressure and circular motions; never tug delicate areas.
- Pat, don’t rub: Blot dry with a clean, soft towel so you don’t disrupt the barrier.
If this step is new to you, our full double cleansing guide breaks down exactly which cleansers to pair for your skin type.
Step 2: How Should You Exfoliate (Gently)?
Exfoliate with a mild chemical or enzyme product to lift dull, dead cells without scrubbing — this is where most at-home facials go wrong. Harsh physical scrubs and grainy beads can create micro-tears and inflame the skin, so estheticians lean toward gentle acids and enzymes that do the work chemically. The goal is smoother, brighter skin, not redness.
- Pick mild actives: Look for a low-percentage AHA (like lactic acid), BHA (salicylic acid), or a fruit-enzyme exfoliant.
- Less is more: Apply a thin, even layer and follow the product’s timing — leaving acids on too long irritates rather than improves.
- Don’t over-exfoliate: Once or twice a week is plenty; daily acid use can compromise your barrier and cause peeling or sensitivity.
- Patch test first: Try any new exfoliant on your inner arm or jaw for a day before using it on your whole face.
Step 3: How Do You Steam and Mask at Home?
Warm the skin with a few minutes of steam to soften pores, then apply a mask suited to your needs. Steam relaxes the surface and helps masks and treatments sink in, mimicking the warm-towel step you’d get in a pro treatment. No machine required — a bowl of hot water and a towel works in a pinch, though a dedicated steamer is gentler and more even.
- Steam smart: Hold your face about a foot above warm (not scalding) steam for 5 to 10 minutes, or drape a warm, damp towel over your face.
- Choose your mask: Reach for a clay or charcoal mask if you’re oily or congested, and a hydrating or sheet mask if you’re dry or dull.
- Mind the timing: Remove clay masks before they fully crack and tighten — that dry, pulling feeling can dehydrate skin.
- Cool it down: Finish with a cool rinse, or try cold therapy from our skin icing guide to tighten and calm.
Step 4: How Do You Do a Facial Massage (Gua Sha / Lymphatic)?
Massage your face with a gua sha tool or your fingertips, using upward and outward strokes to drain fluid and boost circulation. This is the step that makes an at-home facial feel truly indulgent, and it’s where you get that sculpted, de-puffed look. Always glide over a layer of facial oil or serum so the tool slides smoothly and never drags.
- Prep with slip: Apply a few drops of facial oil so the tool or your hands move without pulling the skin.
- Work outward and up: Sweep from the center of the face toward the ears and hairline, following the natural drainage path.
- Drain the neck: Finish with downward strokes along the sides of the neck to move lymph toward the collarbone.
- Stay light: Use gentle, repeated passes rather than heavy pressure — three to five strokes per area is plenty.
For technique, angles, and the science behind the practice, see our deep dive on gua sha for radiant skin.
Step 5: How Do You Treat and Moisturize After a Facial?
Seal everything in by layering a treatment serum and a moisturizer onto slightly damp skin while it’s most receptive. Your skin has just been cleansed, exfoliated, and stimulated, so it’s primed to absorb the good stuff. This final step locks in hydration and protects the work you just did.
- Treat first: Pat in a hydrating or targeted serum — hyaluronic acid for plumping, niacinamide for tone and texture.
- Lock it in: Smooth on a nourishing moisturizer to trap water and reinforce the barrier.
- Don’t skip eye care: Tap a gentle eye cream around the orbital bone with your ring finger.
- SPF by day: If you’re doing your facial in the morning, finish with a broad-spectrum sunscreen — freshly exfoliated skin is more sun-sensitive.
How Often Should You Do an At-Home Facial?
Most skin types do best with a full at-home facial once a week or once every two weeks. That cadence gives your barrier time to recover between exfoliation sessions while still keeping skin clear, smooth, and glowing. Overdoing it — especially the exfoliation and masking steps — can backfire and leave skin red, tight, or irritated.
- Weekly rhythm: A single thorough facial per week suits normal and combination skin.
- Sensitive skin: Stretch to every two weeks and skip or shorten the exfoliation step.
- Listen to your skin: Stinging, flaking, or persistent redness is a sign to scale back, not push through.
- Keep the easy steps daily: Cleansing, moisturizing, and a quick gua sha session are gentle enough for regular use.
What You Need for an At-Home Facial
| Product | Why we like it |
|---|---|
| Cleansing Balm | Melts away makeup and SPF for an effortless first cleanse. |
| Gentle Exfoliant | Mild acids and enzymes smooth and brighten without scrubbing. |
| Clay or Sheet Mask | Draws out congestion or floods dry skin with hydration. |
| Gua Sha Tool | Sculpts, de-puffs, and makes the massage step feel spa-level. |
| Facial Steamer | Delivers even, gentle warmth to soften pores before masking. |
| Moisturizer | Seals in serums and reinforces the barrier to finish the facial. |
The Bottom Line
An esthetician-style facial isn’t about expensive gadgets — it’s about following the right order and treating your skin with patience. Cleanse, gently exfoliate, steam and mask, massage, then treat and moisturize, and you’ll get that radiant, just-pampered glow without leaving home.
Keep it to once a week or so, patch test anything new, and resist the urge to over-exfoliate. With a few simple tools and 30 minutes to yourself, your bathroom can rival the spa — and your skin will thank you for the ritual.
Leave a Reply