
This post contains affiliate links. As an Amazon Associate, we may earn from qualifying purchases at no extra cost to you.
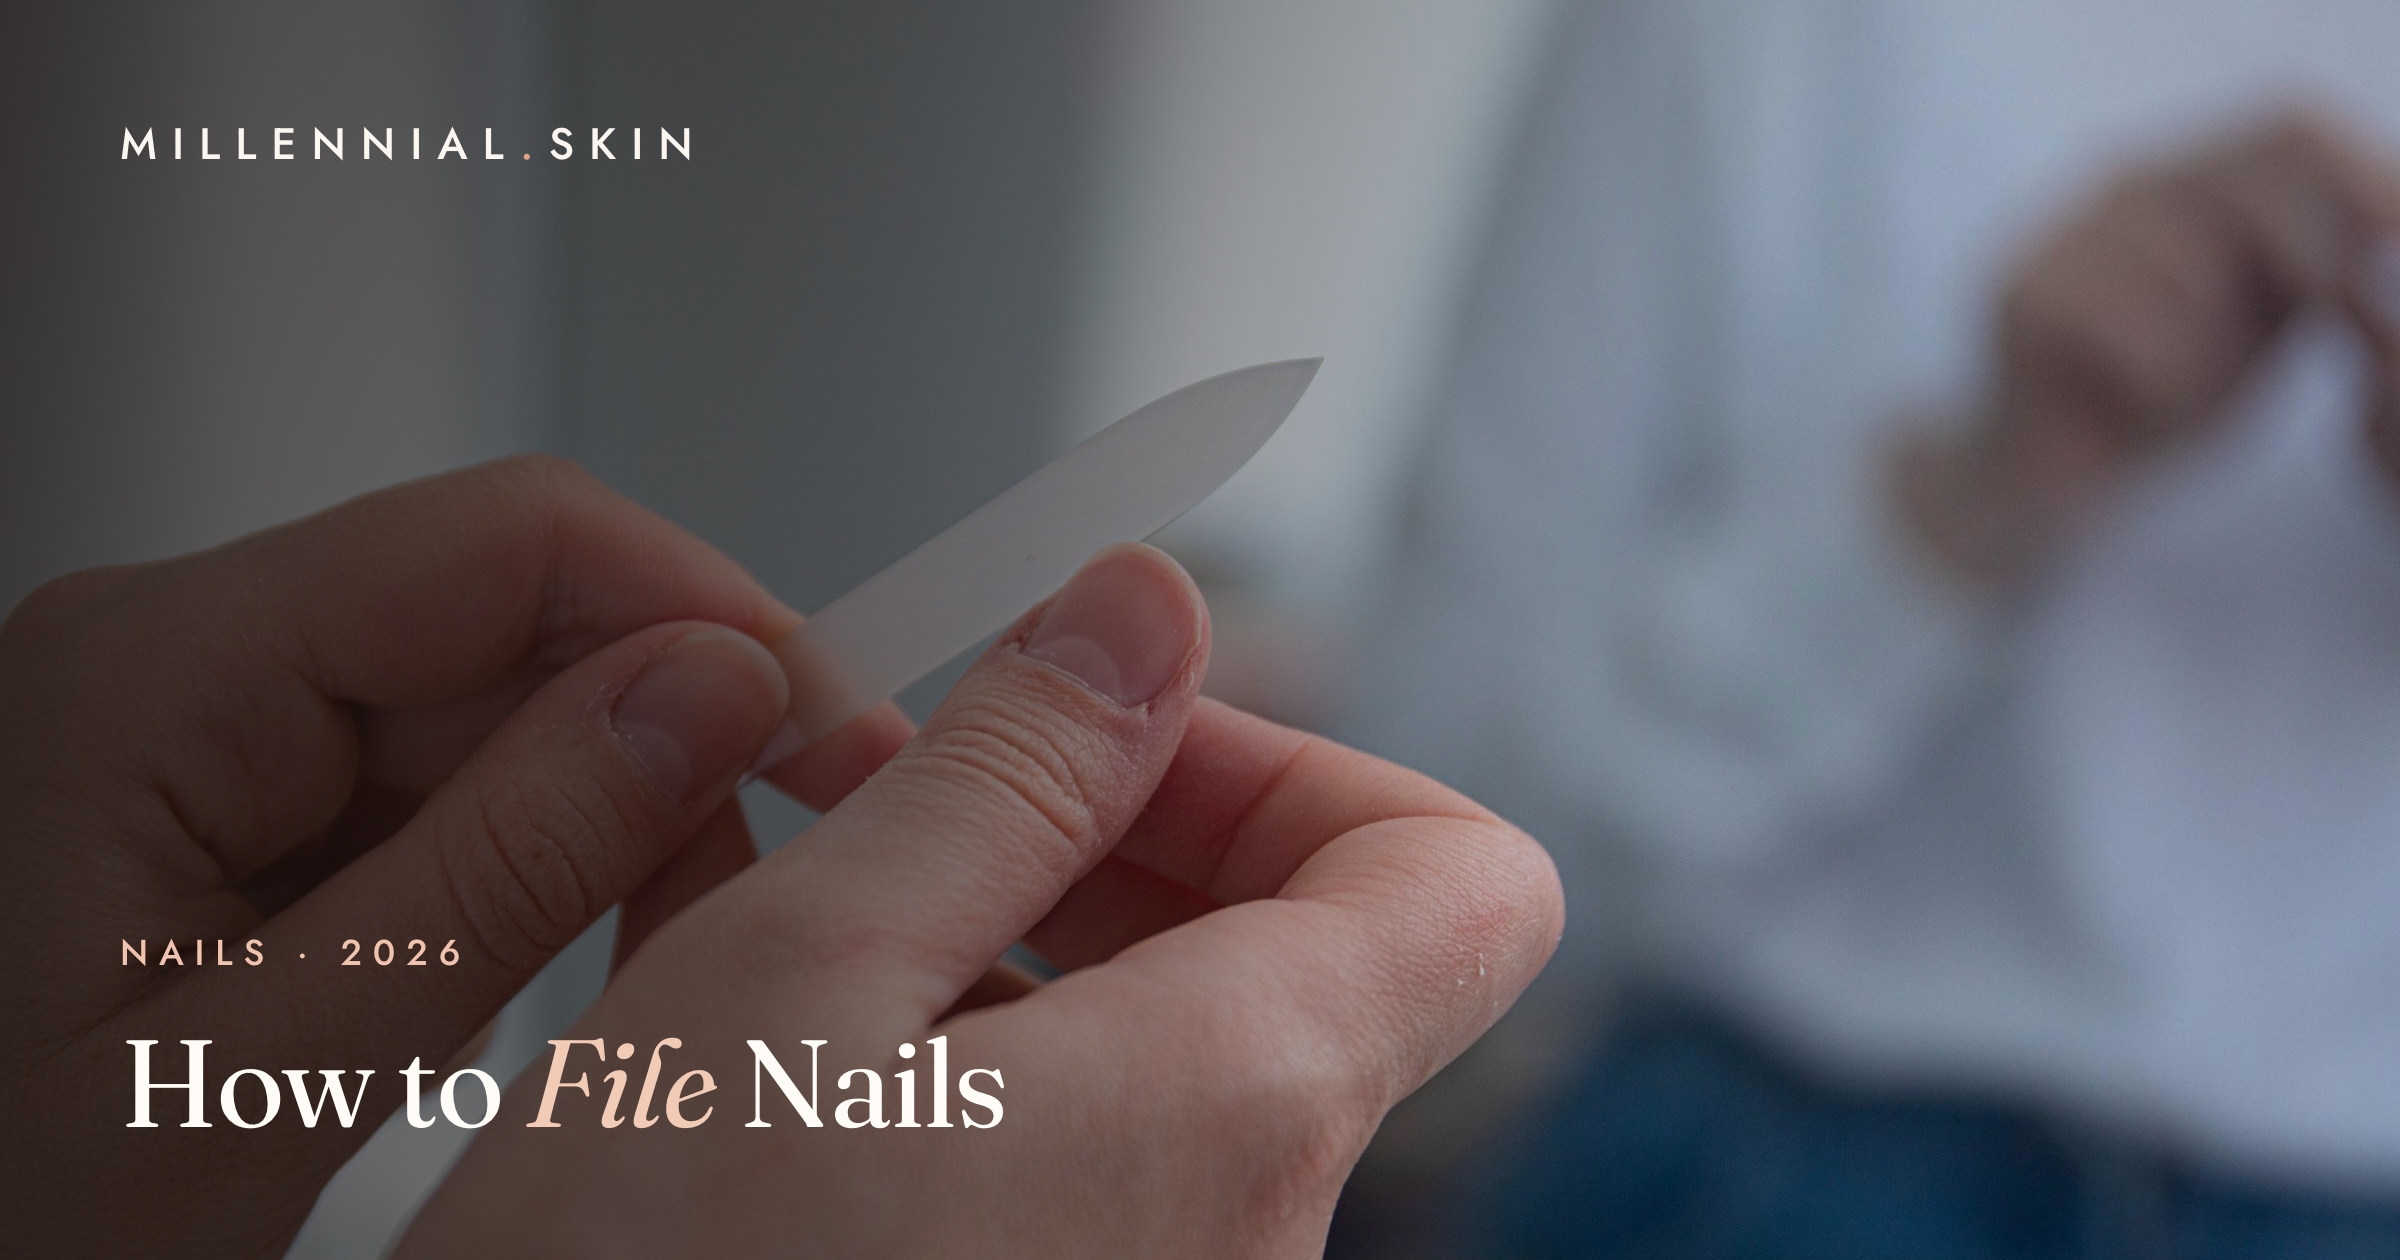
Filing your nails seems like the most basic step in a manicure, and yet it’s the one most of us quietly get wrong. If your nails constantly split, peel, or snag no matter how much cuticle oil you slather on, the culprit is often the file itself and the way you’re using it. The good news is that filing correctly takes no extra time — it’s just a matter of choosing the right tool, working in the right direction, and easing up on the pressure. Get those three things down and you’ll have smoother edges, fewer breaks, and nails that actually grow past the fragile stage. Here’s exactly how to do it.
Should you file nails in one direction?
Yes — and this is the single most important rule in this whole guide. Filing in one direction, from the outer edge toward the center, protects the layers of keratin that make up your nail. When you saw back and forth, you generate friction and heat that loosen those layers, and that’s what leads to the peeling, splitting, and fraying so many people blame on “weak nails.” The myth that back-and-forth is fine survives because it feels faster and the damage isn’t instant — it shows up days later as a split you can’t explain. So pick a corner, glide toward the middle, lift the file off, reset, and repeat. It’s a lifting-and-gliding motion, not a scrubbing one, and your free edge will look noticeably cleaner for it.
What grit nail file should you use?
Grit is the number that tells you how coarse or fine a file is — the lower the number, the rougher it is. Coarse files (around 80–100 grit) are aggressive and really meant for acrylics and hard artificial enhancements, not delicate natural nails. For natural nails, you want to stay in the medium-to-fine range so you’re shaping gently rather than tearing. A finer grit takes a few extra strokes but leaves a smoother, sealed-looking edge that’s far less likely to catch and split. When in doubt, go higher (finer) rather than lower.
| Grit | Best for | Notes |
|---|---|---|
| 80–100 (coarse) | Acrylics, gels, thick artificial nails | Too harsh for natural nails — skip it |
| 180–240 (medium) | Shaping healthy natural nails | The everyday sweet spot for most people |
| 240–600 (fine) | Refining edges and thin or fragile nails | Gentlest option; leaves a smooth, sealed edge |
| Glass / crystal | Everyday shaping, all nail types | Ultra-fine surface that seals the edge as you file |
If your nails are on the thin or peeling side, a glass nail file is genuinely worth the small upgrade — its microscopically fine surface seals the keratin layers instead of shredding them, which is a big part of the fix we cover in our guide to how to strengthen weak nails.
Why do emery boards damage nails?
The cheap cardboard emery boards most of us grew up with aren’t evil, but they are coarse and abrasive, and they wear down fast. As the grit degrades, you end up pressing harder to get the same result, and that extra pressure is exactly what tears the free edge. They also tend to have a rough, uneven surface that grabs at the nail rather than gliding across it. That’s why so many nail techs have switched clients to glass and crystal files: they stay consistently fine, they don’t wear out, and they can be sanitized and reused for years. A crystal nail file essentially removes the “pressing too hard because my file is dull” problem entirely.
Should you file wet or dry nails?
Dry, always. Nails absorb water and swell when they’re wet, so filing them straight out of the shower or a soak means you’re shaping a softened, expanded nail that will shrink and change shape as it dries. Softened nails are also more prone to peeling and tearing under the file. The professional approach is to file first, on completely dry nails, and save any soaking for cuticle care afterward. If you’ve just washed your hands, give your nails ten minutes to dry down before you shape them — you’ll get a cleaner, more accurate edge that holds up.
How do you file each nail shape?
Once your direction and grit are sorted, shape is mostly about where you angle the file. Start by filing the two sides straight, then round or square the tip to taste. Here’s how the most popular shapes come together:
| Shape | How to file it |
|---|---|
| Square | File the sides straight up, then flatten the tip across for a crisp 90-degree edge. |
| Squoval | File a square shape, then gently soften the two top corners for a square-with-rounded-edges look. |
| Round | File the sides straight, then curve the tip following the natural shape of your fingertip. |
| Almond | Taper both sides inward toward a rounded, slightly pointed peak at the center of the tip. |
| Oval | Like almond but softer — taper the sides and round the tip into a smooth egg shape. |
For everyday durability, squoval and round are the most break-resistant because they keep the strong side walls intact. Pointed shapes like almond look elegant but remove more of the sidewall, so they need a little more babying to avoid snapping.
How much should you file, and how often?
Less than you think, and only when you need to. Filing is for shaping and smoothing — it’s not a tool for dramatically shortening your nails, which is a job for clippers first, with the file cleaning up afterward. Aim to shape once or twice a week to maintain your edge, and always finish a fresh break or a snag right away so it doesn’t catch and tear further. Keep your strokes light: a few gentle passes in one direction will do far more good than a dozen hard ones. And resist the urge to over-file the sidewalls, because those side edges are structural — filing too deeply into them is a fast track to breaks. If you want your shape to actually last between filings, our tips on making a manicure last longer pair perfectly with good filing habits.
How do you finish and seal the edge?
After shaping, the free edge can feel slightly rough, and a quick finishing pass is what turns “filed” into “salon-smooth.” Hold your file flat against the very edge of the nail at a downward angle and make one or two light passes to bevel it — this knocks off the tiny burr that causes snagging and peeling. If you like a buffed, polished surface, a soft nail buffer block gently smooths ridges and adds a natural shine — just use it sparingly, since over-buffing thins the nail. Finish by massaging in a good cuticle oil, which rehydrates the nail and surrounding skin so your freshly filed edge stays flexible instead of brittle.
Which nail files do we love?
You don’t need a drawer full of tools to file well — just a few good ones that stay fine, seal the edge, and keep your nails flexible. These are the everyday helpers we reach for.
| Product | Why we like it |
|---|---|
| Glass nail file | Ultra-fine and gentle — it seals the keratin edge instead of shredding it, and it never wears out. |
| Crystal nail file | A washable, long-lasting favorite of nail techs; consistently fine so you never press too hard. |
| Nail buffer block | Smooths ridges and adds a soft natural shine — use lightly so you don’t thin the nail. |
| Cuticle oil | Keeps the nail and surrounding skin hydrated so freshly filed edges stay flexible, not brittle. |
| Nail strengthener | A reinforcing base for soft or peeling nails, so your careful filing has something sturdier to work with. |
Frequently Asked Questions
Should you file nails in one direction or back and forth?
Always one direction. Filing from the outer edge toward the center protects the nail’s layers, while sawing back and forth creates friction and heat that loosen those layers and cause splitting and peeling. It takes a few more strokes but leaves a far cleaner, stronger edge.
What grit nail file is best for natural nails?
A medium-to-fine grit in the 180–240 range is ideal for shaping healthy natural nails, and 240 and above is best for thin or fragile ones. Skip coarse 80–100 grit files, which are meant for acrylics and are too harsh for natural nails. Glass and crystal files work beautifully on all nail types.
Is it better to file or clip your nails?
Use both, in order. Clippers are the efficient way to remove length, and the file is for shaping and smoothing afterward. Filing alone to shorten long nails takes forever and encourages over-filing, so clip first, then refine the shape and seal the edge with a fine file.
Should you file your nails wet or dry?
Dry. Wet nails swell with absorbed water and are softer, so filing them gives you an inaccurate shape and more peeling as they dry and shrink back. File on completely dry nails and save any soaking for cuticle care afterward.
Why do my nails split even when I file them?
Usually it’s the technique or the tool. Back-and-forth sawing, a dull or overly coarse file, filing wet nails, or pressing too hard all fray the free edge and lead to splits. Switch to a fine glass or crystal file, work in one direction with light pressure, and seal the edge to see a real difference.
The takeaway
Filing well isn’t complicated — it just runs against a few old habits. File in one direction, reach for a fine glass or crystal file instead of a worn-out emery board, keep your nails dry, and use a light touch. Shape once or twice a week, bevel and seal the edge when you’re done, and follow up with cuticle oil to keep everything flexible. Do that consistently and the splitting, peeling, and snagging you’ve been fighting will fade, leaving you with smooth, strong nails that finally get the chance to grow.
Leave a Reply