
This post contains affiliate links. As an Amazon Associate, Millennial Skin earns from qualifying purchases at no extra cost to you.
Not every nail look needs to match — and 2026 is proving it with genuine conviction. Skittle nails, the art of painting each finger a completely different color from a curated palette, have graduated from quirky internet experiment to bona fide manicure staple. The catch? Doing it well requires more strategy than grabbing ten random polishes off the shelf. When the palette is chosen with intention, the result looks playful but polished, joyful but cohesive. Here’s everything you need to know to pull it off beautifully.
What Exactly Are Skittle Nails?
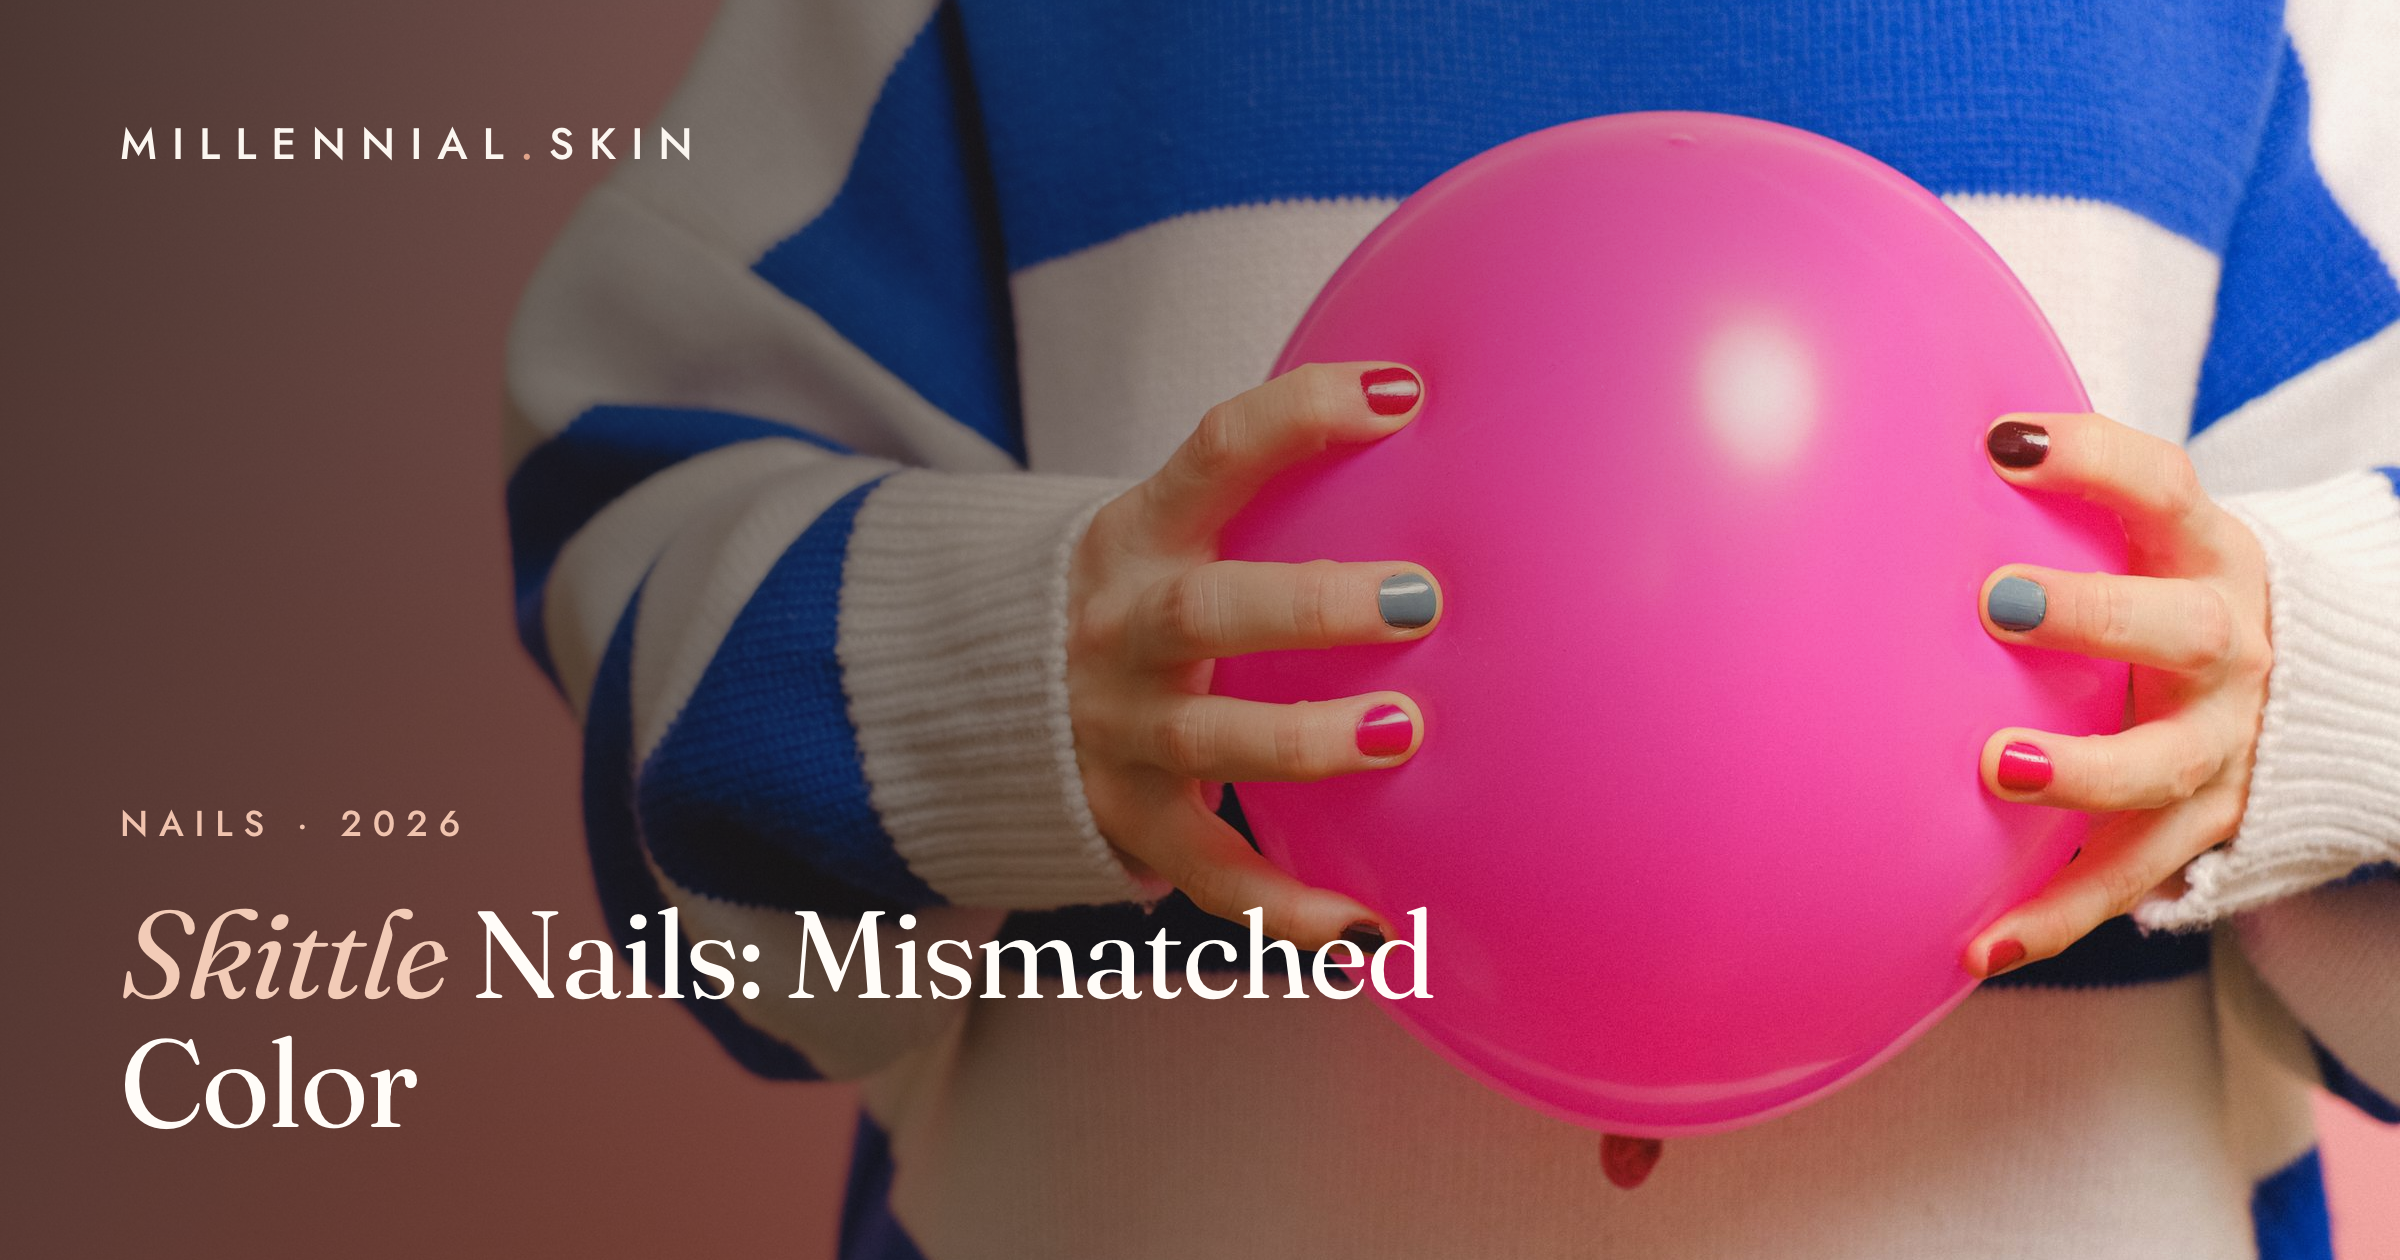
Skittle nails are a manicure style where each nail wears a distinct color — typically drawn from a related palette — creating a set that’s deliberately mismatched rather than accidentally inconsistent. The name nods to the candy brand’s iconic assortment: no two pieces are the same, yet they clearly belong in the same bag.
Unlike rainbow nails, which usually follow a strict ROYGBIV sequence, or accent nails, which keep nine nails neutral and one bold, skittle nails embrace full-hand variety. Each nail is its own statement. Cohesion comes not from color matching but from thoughtful curation — the palette is the entire design decision.
The look first surfaced in Korean nail salons, filtered through Instagram and Pinterest, and landed in mainstream beauty by late 2024. By 2026 it’s become an expected offering at most nail bars, not an unusual special request. The barrier to entry has also dropped sharply: curated multicolor polish collections have made it easy to source an entire coordinated set without buying ten individual bottles.
Why Skittle Nails Are Trending So Hard Right Now
The timing tracks with a broader shift in beauty culture. After years of maximalist chrome sets and gel extensions dominating the space, the pendulum has swung toward personal expression over trend conformity — and skittle nails fit that shift perfectly. They’re infinitely customizable, work across every skill level, and let wearers build a signature set that reflects their actual color preferences rather than a single viral shade dictated by the algorithm.
Social media has also played a structural role. Short-form content rewards visual variety, and a ten-color hand photograph earns more saves and shares than a single-shade mani. That algorithmic reality accelerates adoption faster than most trends move through the beauty cycle. Meanwhile, the nail category at large has expanded: the average beauty consumer now owns more polishes, more finishes, and more nail art tools than at any point in the last decade — which means the raw materials for a skittle set are already sitting in most collections.
How to Choose a Palette That Looks Intentional, Not Random
The most common skittle nail mistake is pulling colors that share no relationship whatsoever. The palette is the whole game — get it right and the rest follows. There are five main approaches, each producing a distinctly different result.
| Palette Style | Color Range | Vibe | Best For |
|---|---|---|---|
| Tonal / Monochromatic | One hue in multiple shades and depths | Sophisticated, understated | Work wear, everyday |
| Pastel Rainbow | Muted multi-hue across the spectrum | Soft, playful, feminine | Spring and summer |
| Jewel Tone | Rich, fully saturated multi-hue | Editorial, high-impact | Events, fall and winter |
| True Rainbow | Full spectrum, vivid and even | Maximalist, festive | Parties, bold statements |
| Neutral + One Pop | Nudes and taupes with a single accent | Minimal, modern | Versatile, office-appropriate |
A reliable rule for any of these categories: keep color temperature consistent. Warm tones — coral, peach, gold, rust, terracotta — mix with other warm tones. Cool tones — lavender, mint, periwinkle, silver — belong with cool tones. Mixing temperatures without intention creates visual discord even when the individual shades are beautiful on their own. If you’ve been experimenting with individual trending shades, consider how each sits on the warm-to-cool spectrum before building your set. A few of the color guides on-site make this easy — the pistachio green nails breakdown, for instance, covers exactly which undertones make that shade wearable, which translates directly to palette-building for a skittle set.
Finishes to Mix for Depth and Dimension
Skittle nails don’t have to be limited to straight cremes. Layering different finishes across the same palette is one of the fastest ways to elevate the look from “leftover polishes” to “I planned this.”
The most popular finish combinations right now: glazed and matte together — glazed (sheer, milky, glass-skin-adjacent) on two or three nails paired with matte on the others creates tactile contrast that photographs exceptionally well. Chrome and creme is another strong pairing: one or two metallic chrome nails anchored by solid cremes in complementary shades, where the chrome acts as a visual break. Shimmer or duochrome polishes shift in light and pop beautifully when surrounded by flat cremes that give the eye a place to rest. A single chunky glitter nail tucked into an otherwise soft palette adds texture without overwhelming the composition.
One practical limit to keep in mind: try not to repeat the same finish across more than four consecutive nails. Variation is the whole point, and your eye needs rest to appreciate the contrast. Bold pops like the high-gloss depth found in cherry red nails can serve as a single saturated anchor in an otherwise muted or pastel skittle set — one nail carrying the richest creme while the others vary in finish around it.
How to DIY Skittle Nails: Step-by-Step
A skittle set at home is genuinely achievable, even for beginners. The technique itself — applying a solid creme to each nail — is no more complex than a standard manicure. The skill is in palette selection and edge cleanup, both of which improve quickly with practice. Having the right supplies makes a measurable difference.
| What You Need | Purpose | Why It Matters for Skittle Nails | Shop |
|---|---|---|---|
| Multicolor Nail Polish Set | The foundation of the look — curated colors in one purchase | Eliminates the guesswork of palette-building; shades are already coordinated | Multicolor Nail Polish Set |
| Nail Art Detail Brushes | Precision edge cleanup and detail work | Straight, clean edges are what separate DIY from salon-quality results | Nail Art Detail Brushes |
| Quick-Dry Top Coat | Seals and protects all ten shades | A single top coat unifies different polish formulas and adds longevity to every nail | Quick-Dry Glossy Top Coat |
| Cuticle Oil Pen | Rehydrates skin post-acetone and polish | Healthy cuticles make the entire set look more polished and intentional | Cuticle Oil Pen |
Step 1: Prep. Push back cuticles, file to your preferred shape, and buff the surface lightly. Wipe each nail with a lint-free pad dampened with rubbing alcohol to remove oils — this step dramatically improves adhesion and longevity.
Step 2: Apply a base coat. A ridge-filling or sticky base coat protects nails from staining (especially important with jewel tones and deep reds) and standardizes coverage across different polish formulas.
Step 3: Map your palette before painting. Line up your polish bottles in the order you’ll apply them — left pinky through right pinky — and swap adjacent colors until the sequence feels right. Changing order at this stage costs nothing; changing it after painting costs time.
Step 4: Two thin coats per nail. Let the first coat dry fully before the second. Thin coats dry faster, prevent bubbling, and produce truer color.
Step 5: Clean up edges with a fine brush dipped in acetone. This is the step that separates a careful DIY from a professional-looking result. Straight cuticle lines and clean sidewalls are the difference.
Step 6: Seal with top coat. Apply to every nail regardless of the finish underneath. For matte nails, use a matte-specific top coat. For all others, a quick-dry gloss adds shine and significantly extends wear.
Step 7: Cuticle oil to finish. Apply and massage in. It rehydrates the skin dried by acetone cleanup and makes the entire set look healthier on the hand.
Pro Tips for Keeping the Set Cohesive
Beyond palette and temperature, a few specific techniques reliably hold a skittle set together visually. First, repeat one shade across two non-adjacent nails — for example, the same dusty rose on the right index and left ring finger. Repetition creates subtle rhythm that the eye reads as intentional design rather than randomness.
Second, don’t neglect the thumb. It’s the largest nail surface and the most visible in natural hand position. Give it something interesting — the richest jewel tone, a chrome finish, or the most contrasting shade in your palette. A weak thumb color flattens the whole set.
Third, if your nails vary in length, place lighter or more neutral shades on longer nails. Heavy pigment on a long nail can make it look visually dominant, which throws off the balance across the hand. Lighter shades on longer nails keep the eye moving evenly.
Finally, reapply top coat every two to three days. This refreshes the shine, seals any micro-chips before they spread, and meaningfully extends the life of the set between salon visits or DIY refreshes.
Which Nail Shapes and Lengths Work Best
Skittle nails are shape-agnostic, but some combinations land better than others. Soft square or squoval is the most versatile base — the flat edge provides a tidy frame for each individual color and keeps the eye from moving too quickly across the set. Almond elongates the fingers and gives each shade more vertical real estate, which works especially well with tonal or jewel-tone palettes. Round nails feel casual and low-maintenance, a natural home for pastel skittle sets. Coffin and ballerina shapes add fashion-forward energy and suit jewel-tone or true-rainbow palettes. Stiletto is reserved for committed maximalists — every nail becomes an elongated canvas, which suits editorial skittle compositions.
As for length: shorter nails benefit from lighter, brighter shades since the surface area is small and heavy pigment can overwhelm. Longer nails carry deeper, more saturated colors with ease. The general principle is that whatever grabs the eye first should be on a nail surface large enough to support it.
Skittle Nails FAQ
Do skittle nails work with gel or only regular polish?
Skittle nails work equally well with gel polish, regular lacquer, or gel-polish hybrid formulas. Gel offers longer wear — typically two to three weeks — and is the better choice if you want the look to last through travel or events. Regular polish is easier to swap at home when you want to refresh the palette or follow a new color drop.
How many colors should a skittle set include?
Most skittle sets use five to ten distinct colors — one per nail. For a first attempt, five colors across both hands (mirroring each hand so the same color appears on the same finger of each hand) is a manageable starting point that still creates the full effect without requiring ten different polish decisions at once.
Can skittle nails look professional for an office environment?
Yes, with the right palette. A tonal set in muted nudes, soft grays, or dusty mauve reads as intentional and polished rather than casual. The neutral-plus-one-pop approach — nine near-neutral nails with a single quiet accent — is another option that works in conservative settings. Avoid very saturated or neon combinations in environments with strict dress codes.
Are some polish brands better suited for skittle sets than others?
Formula consistency matters more than brand in a skittle set. When all your polishes come from the same collection or line, the pigment density, finish quality, and dry times are predictable and compatible. Mixing polish brands isn’t a problem, but mixing very different formula generations — an older streaky formula alongside a newer dense pigment — can result in uneven coverage that’s harder to correct.
How do I choose between a tonal and a full-color skittle set?
Let your lifestyle and wardrobe lead the decision. Tonal sets in one color family coordinate with most outfits and environments because the variation is subtle — they add dimension without competing with what you’re wearing. Full-color rainbow sets are statement accessories in themselves and work best when the look is meant to be noticed. A useful test: if you’d describe your personal style as “quiet luxury” or “minimal,” start tonal. If you gravitate toward bold prints and color in your clothing, a rainbow palette will feel natural rather than jarring.
Leave a Reply