
This post contains affiliate links. If you buy through them, we may earn a small commission — at no extra cost to you.
If your blush game has been stuck in powder-mode since your teenage MAC counter days, you make the switch. Cream blush is having a real moment right now, and it’s not just a trend — it’s genuinely the most flattering way to add color to your face if what you’re after is that “I just came back from a walk in the cold and also maybe I’m in love” glow. Powder blush sits on top of your skin. Cream blush melts into it.
The catch is that cream formulas have a bit of a learning curve. Apply them wrong and you can end up looking patchy, streaky, or like you have two weird pink circles on your cheeks. Apply them right and people will ask what skincare you’re using (spoiler: it’s blush). Let’s get into how to actually do this.
Why cream blush gives you that lit-from-within look
Powder blush is made of pigment suspended in a dry, often talc-based base, and it grips onto the surface of your skin — including every dry patch, fine line, and bit of texture. Cream blush is pigment suspended in oils, emollients, and waxes, so it actually blends into your skin rather than sitting on it. The result reflects light differently: instead of a flat, matte wash of color, you get a soft, translucent flush that looks like it’s coming from underneath your skin instead of painted on top of it.
This is exactly why cream blush pairs so well with the “your skin but better” makeup trend that’s dominated for the past few years. It reads as natural because it mimics what your cheeks actually do when you’re flushed — soft-edged, a little uneven, warm rather than opaque.
Your tools: fingers vs. sponge vs. brush
How you apply cream blush changes the finish more than almost any other variable. There’s no single “correct” tool — it depends on the coverage and texture you want.
- Fingers: The warmth of your fingertips actually helps melt the product into your skin, which makes this the fastest way to get that seamless, my-skin-but-flushed look. It’s great for sheer, buildable color and it’s foolproof for beginners because you can feel exactly how much pressure and blending you’re doing. The downside: it can transfer product from your fingers back onto your face elsewhere, and it’s not the most sanitary option if you’re applying on the go.
- Damp makeup sponge: A slightly damp sponge (like the kind you already use for foundation) presses cream blush into the skin without absorbing too much product, and it blends out the edges beautifully. This is the best option if you want a flush that looks airbrushed with zero visible edges. It’s also great for layering blush over foundation without disturbing your base.
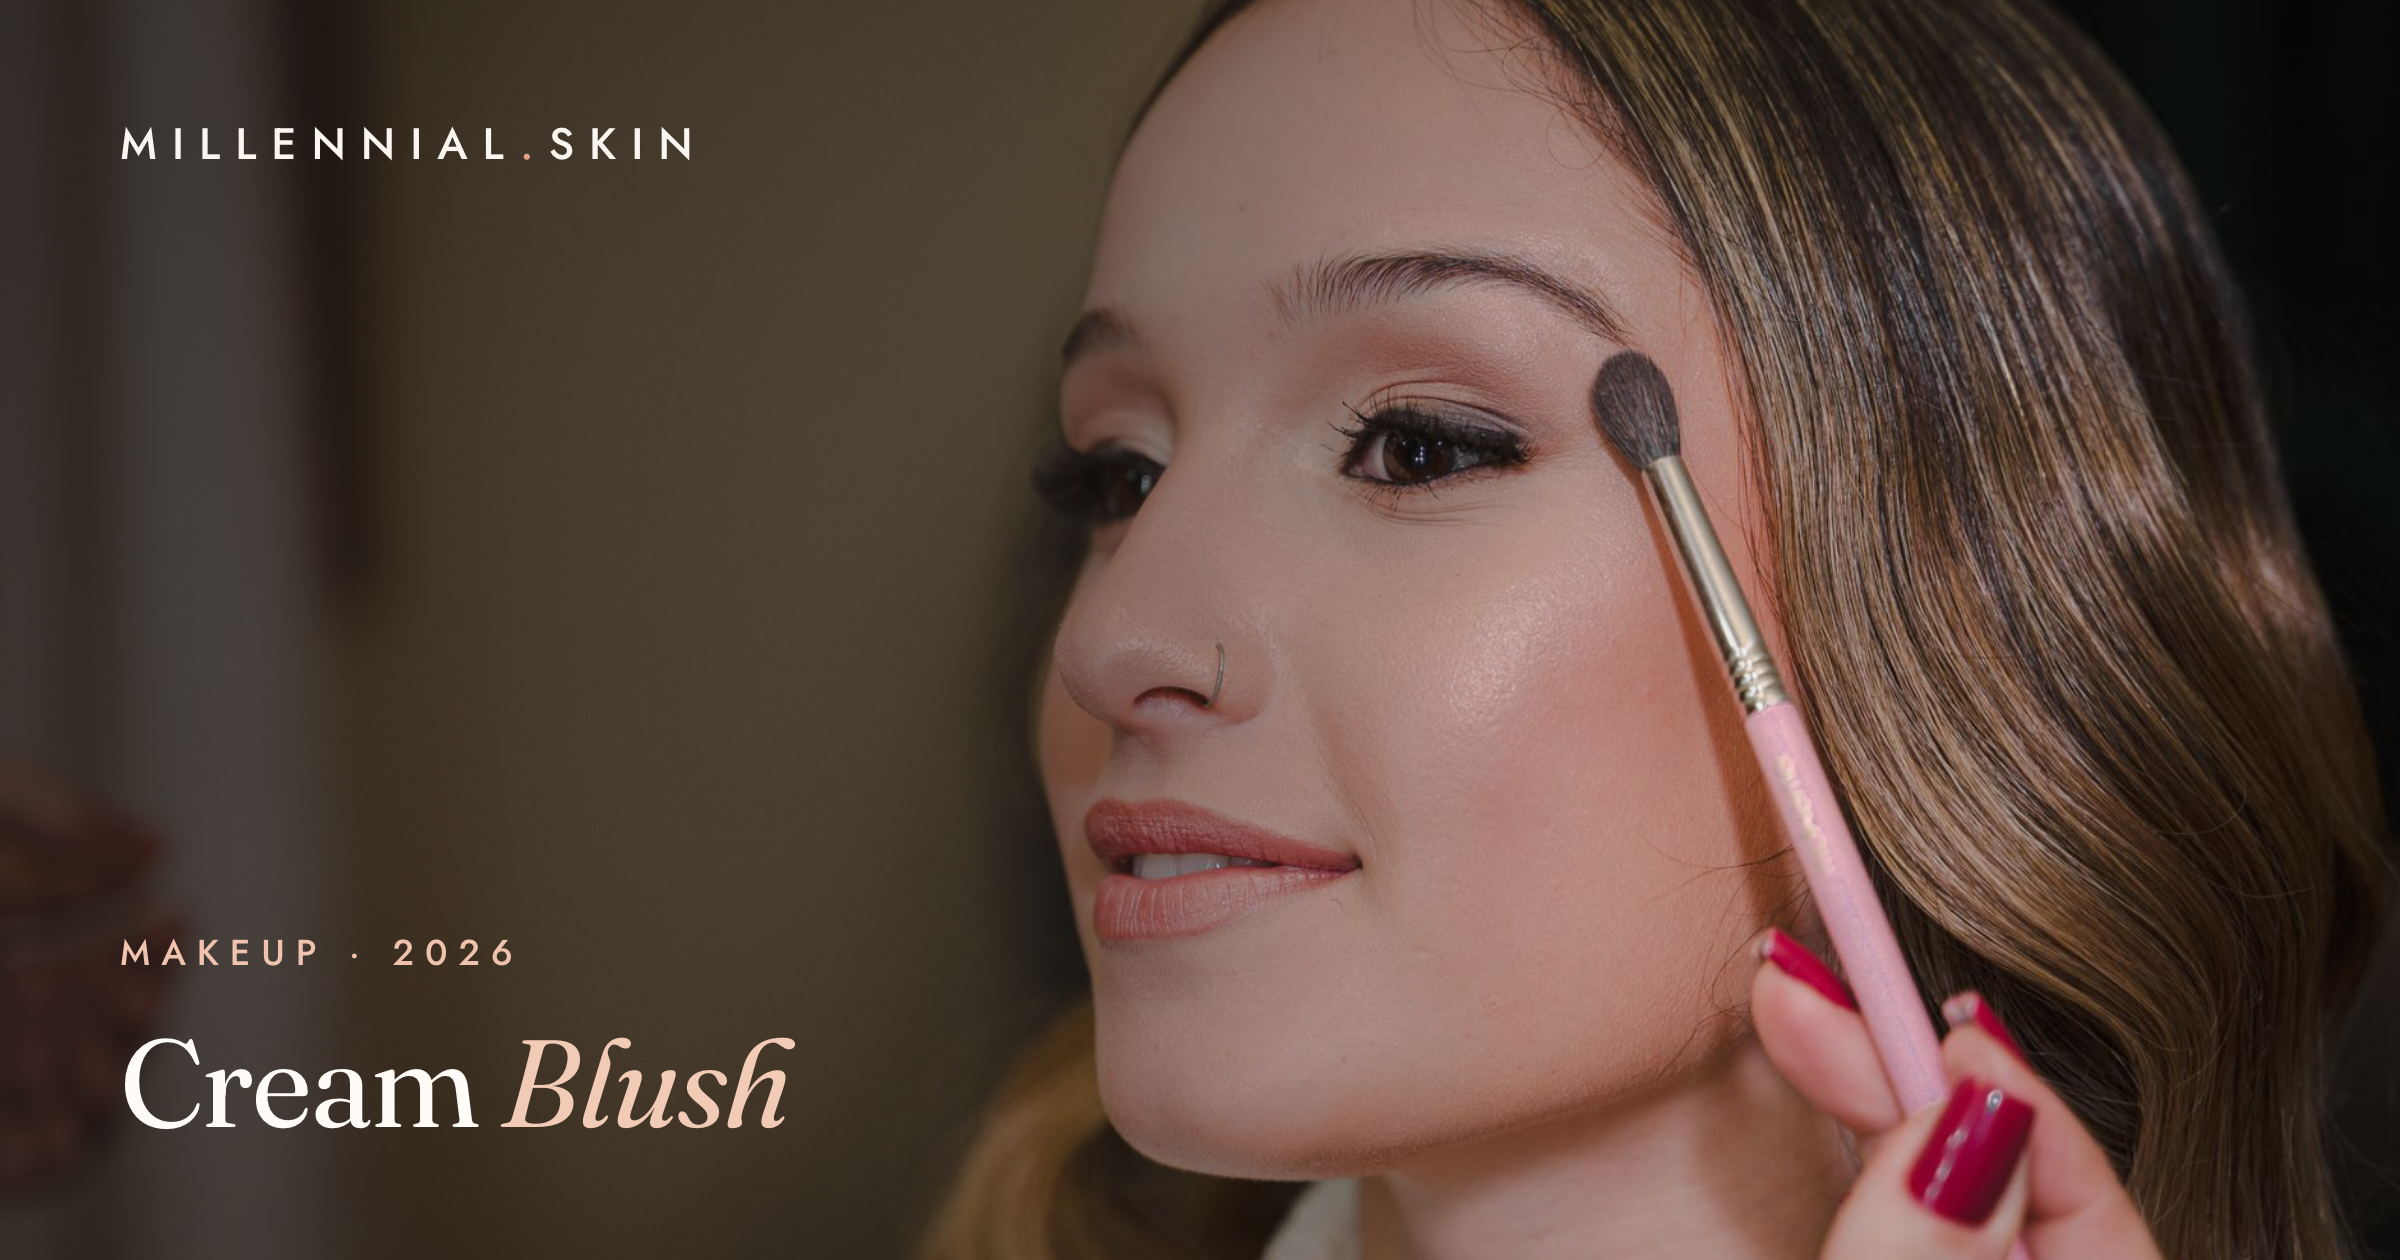
- Dense brush: A small, dense, flat-top brush gives you more precision and control, which is helpful if you’re contouring your blush placement carefully or working with a more pigmented formula. Brushes tend to give slightly more defined, buildable color compared to fingers or sponges, which some people prefer for a more “done” makeup look.
If you only buy one tool, a damp sponge is the most versatile — it works for blush, foundation, and concealer, and it basically never lets you down.
Where to place blush by face shape
Placement changes everything about how a cream blush reads on your face. The general rule: apply on the apples of your cheeks (smile to find them) and blend upward and outward toward your temples. But your face shape can help you fine-tune it.
| Face shape | Best blush placement | Why it works |
|---|---|---|
| Round | Slightly angled up toward the temples, avoiding the roundest part of the cheek | Creates the illusion of more lift and definition |
| Long/oval | Straight across the apples, blended horizontally rather than upward | Widens the face visually instead of elongating it further |
| Heart | Lower on the apples, blended down and out | Balances a narrower chin with more width in the mid-face |
| Square | Softly rounded on the apples, blended up toward the temple | Softens strong jaw and forehead angles |
Don’t overthink this too much, though — cream blush is forgiving by nature, and a soft, well-blended flush looks good on basically everyone regardless of face shape.
How to layer cream blush the right way
Layering order matters more with cream products than with powder, since each layer can interact with (or disturb) the one below it. Here’s the order that tends to work best:
- Cream blush over foundation, before setting powder: Apply your foundation and concealer first, then dot on cream blush and blend it in before you set anything with powder. This lets the blush melt into your base for the most seamless finish.
- Cream blush under a light dusting of setting powder: If you have oily or combination skin, you can set the rest of your face first (avoiding the cheek area), apply cream blush on top, and then very lightly dust translucent powder just around the edges to help it stay put without killing the dewiness.
- Cream-on-cream: For maximum glow, use a cream highlighter or cream bronzer alongside your cream blush, blending all three into each other with your fingers or a sponge. This “cream-on-cream” method is how a lot of the dewy, no-makeup-makeup looks all over social media are actually achieved — it’s less about individual products and more about blending everything into one cohesive wash of color and light.
One thing to avoid: applying cream blush directly over a fully set, powdered face. It tends to grab unevenly and can look streaky since it has nothing to blend into.
Best formulas for dry skin vs. oily or combination skin
Not all cream blushes are formulated the same way, and picking the right one for your skin type will save you a lot of blending frustration.
- Dry skin: Look for balm or oil-based formulas with a slight sheen, since these add moisture along with color. A liquid-drop blush like Rare Beauty Soft Pinch Liquid Blush is a great option here — it’s lightweight, blends like a dream with fingertips, and leaves a natural satin finish that won’t cling to dry patches.
- Oily or combination skin: You’ll want a formula with a slightly more matte or “second-skin” finish so it doesn’t slip and slide once your natural oils kick in later in the day. A stick format like the e.l.f. Monochromatic Multi Stick is easy to control and layers well without adding excess shine.
- Budget-friendly all-rounder: If you want to test out cream blush without committing to a higher price point, a classic pot formula like Milani Cream Blush is pigmented, blendable, and works well for most skin types.
How to build color without going patchy
The number one cream blush mistake is applying too much at once and then trying to blend it out after the fact. Instead:
- Start with a tiny amount — less than you think you need. A pea-sized dot per cheek is plenty for most formulas.
- Dot, don’t swipe. Placing small dots across the apple of your cheek and blending outward gives you more even coverage than dragging one big smear.
- Blend immediately, before the product starts to set. Cream formulas grab fast, so speed matters.
- Build in thin layers. If you want more color, add a second light layer after the first has blended in, rather than piling on more product at once.
- Warm the product first. Rubbing a bit between your fingertips before applying softens the texture and helps it glide on more evenly.
How to make cream blush last all day
Cream formulas are famous for their glow, less famous for their staying power, but there are a few tricks to help it go the distance. Set the very outer edges of your blush with a translucent powder using a fluffy brush, tapping rather than swiping so you don’t disturb the cream underneath. Avoid touching your face throughout the day, since the warmth and oil from your hands can shift a cream product more than powder. And if you’re someone who runs oily by midday, keep blotting papers on hand rather than powder — pressing away excess oil preserves the flush instead of muting it.
Picking your shade by undertone
Getting the right shade family matters just as much as the formula. As a general guide, cool undertones (pink or blue undertones, veins that look blue on your wrist) tend to look best in true pinks and berries. Warm undertones (golden or yellow undertones, greenish veins) look best in peaches, corals, and warm terracottas. Neutral undertones can wear almost anything, though a rosy mauve is a safe, universally flattering starting point. When in doubt, pick a shade close to your natural flush after exercise — that’s usually your most flattering blush color, no matter your undertone.
Our product picks
Here are cream blush formulas and tools worth reaching for, sorted so you can match one to your skin type and finish.
| Product | Why we like it |
|---|---|
| Rare Beauty Soft Pinch Liquid Blush | Lightweight liquid drops that blend like a dream and suit dry skin |
| e.l.f. Monochromatic Multi Stick | Easy-to-control stick with a second-skin finish for oily or combination skin |
| Milani Cream Blush | Pigmented, blendable pot formula that works for most skin types on a budget |
| Makeup Blending Sponge | Presses cream color into skin for an airbrushed flush with no visible edges |
| Dense Flat-Top Blush Brush | Gives precise, buildable placement when you want a more defined look |
| Cream Highlighter Stick | Layers over cream blush for that dewy, cream-on-cream glow |
Frequently asked questions
Can I use cream blush if I have acne-prone skin?
Yes, but check the ingredient list first. Look for formulas labeled non-comedogenic and avoid heavy, waxy sticks if you’re prone to breakouts around the cheeks. Applying with a clean sponge or freshly washed fingers (rather than a brush that touches multiple areas of your face) also helps keep bacteria transfer to a minimum.
Do I need to set cream blush with powder?
Not necessarily. If you have dry to normal skin, you can skip powder entirely and let the cream finish stay dewy all day. If you have oily or combination skin, a light touch of translucent powder around the edges (not directly on top) will help it hold up without losing the glow.
What’s the easiest way for a beginner to try cream blush?
Start with your fingers and a liquid-drop or balm formula, since both are the most forgiving to blend. Apply a small dot to each cheek, tap and blend outward with your fingertip, and build up slowly. It’s genuinely hard to mess up once you get the hang of using a light hand.
The bottom line
Cream blush isn’t complicated once you understand the basics: use less than you think, blend fast with fingers or a damp sponge, apply it before you set your face with powder, and pick a formula suited to your skin type. Do that and you’ll get the kind of soft, lit-from-within flush that no powder blush can quite replicate. It’s a small swap in your routine that makes a genuinely noticeable difference — and once you try it, going back to powder blush full-time is going to be hard.
Leave a Reply