
Makeup that looks perfect in your bathroom mirror can look washed out, shiny or weirdly pale in your wedding photos. The camera sees your face differently than you do, so photo makeup needs a little more shape than feels normal, a matte middle with some glow up high, and a foundation matched to your neck and chest. The one that scares brides most is flashback, that ghostly white cast that only shows up when the flash fires. It’s usually caused by thick HD powder or certain sunscreens, and you can catch it at your trial with nothing more than your phone.
Why the camera eats your blush
A camera flattens you. Bright light or flash fills in the shadows that give your face its shape, and color fades right along with them, so blush that looked perfect in the mirror can vanish in the ceremony shots and brows you thought were done can look sparse.
That’s why a bridal artist’s work can look like a lot up close. It’s made for six feet away and a lens. You don’t need a heavier base to fix it, just a little more shape in a few places:
Brows. Fill them in one step past what you’d do on a normal day. A fine-tipped brow pencil from Anastasia Beverly Hills adds that extra definition without drawing a block.
Lash line. Darker roots keep your eyes from disappearing in the wide shots.
Blush. Go a touch past what feels natural, since it’s usually the first thing light washes out.
Lips. Pick a shade with some depth, because a nude that matches your skin exactly can make your mouth disappear on camera.
Contour and bronzer. Keep them soft and matte with blended edges, and our blush, bronzer and contour placement guide shows where each one goes.
Foundation is the one place to hold back. Thick layers look thick in photos, while thin ones look like real skin. If you’re also worried about your base making it through a twelve-hour day, the layering order lives in our post on wedding makeup that lasts.
Where that ghostly white cast comes from
Flashback happens when something on your face bounces the flash straight back at the lens. You look totally fine in the mirror, and then the photo shows a pale mask or white half-moons under your eyes.
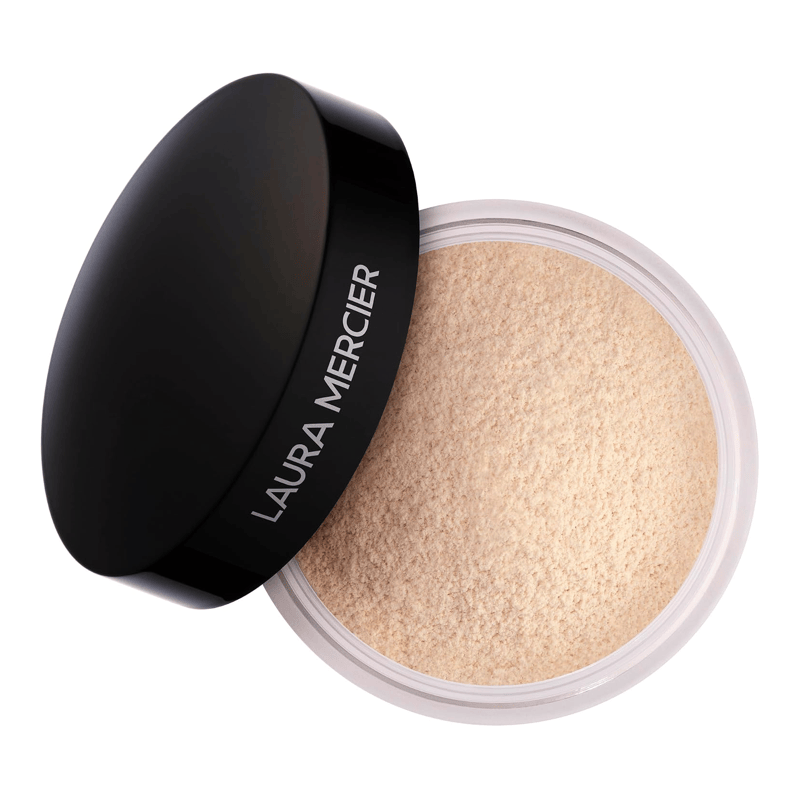
Two kinds of products get blamed the most. The first is see-through HD powder, which is mostly silica and usually doesn’t show at all when it’s lightly buffed in. Pressed on thick, or left sitting under your eyes after baking, it can turn into white patches under direct flash, so how much you use matters at least as much as what’s in it. A finely milled powder you can apply sheer, like Laura Mercier Translucent Loose Setting Powder, which comes in deeper tints so it doesn’t ash out darker skin, or the pro kit staple RCMA No-Color Powder, behaves well as long as you keep a light hand. If you’re doing your own makeup, the Laura Mercier is the friendlier of the two because it forgives a heavy hand, and it goes up against cheaper and pricier options in its own comparison post.
The second is mineral sunscreen. Zinc oxide and titanium dioxide protect you partly by bouncing light away, and some formulas leave a white cast that flash makes worse. That’s true of some mineral sunscreens and SPF foundations, not all of them. Chemical sunscreens are much less linked to the problem, and newer tinted mineral ones often do just fine. Titanium dioxide also shows up in plenty of regular foundations as a coloring, with no trouble at all.
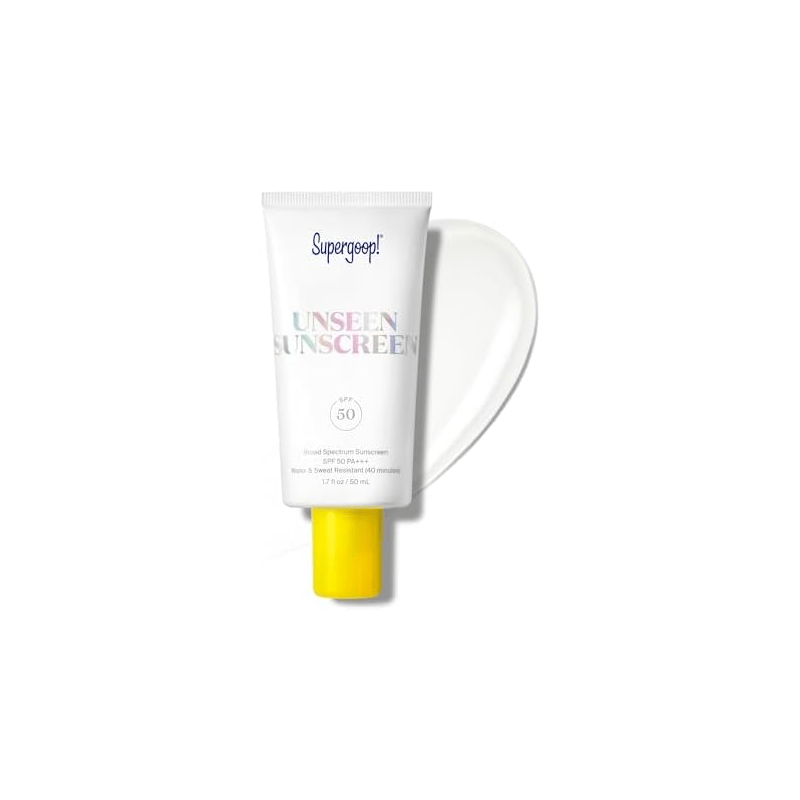
So “never wear SPF on your wedding day” goes too far. Skipping it is reasonable for an indoor evening wedding, but if you’ll be outside or doing hours of daylight photos, sun protection still matters, so wear a sunscreen that has passed your own flash test. A clear gel built on chemical filters, like Supergoop! Unseen Sunscreen SPF 40, has no white cast to start with and doubles as a primer. Take sun and skin questions to your dermatologist, and see our bridal skincare timeline for the months before. The ingredient details are in our piece on foundation flashback in photos.
Matte in the middle, glow up high
Under flash, oil on your forehead, nose and chin turns into bright white spots. But a face powdered matte all over looks flat and dry, and in close-ups it can actually make you look older.
The answer is to treat your face in zones. Keep the middle matte, meaning your forehead, the sides of your nose and your chin, and let the tops of your cheekbones and your temples keep their natural sheen. Glow up high reads as healthy skin, while glow on your forehead and nose just reads as sweat.
Go gently with highlighter, too. A fine, soft-sheen formula looks gorgeous, but chunky shimmer can show up as a stripe or a wet-looking patch under flash.
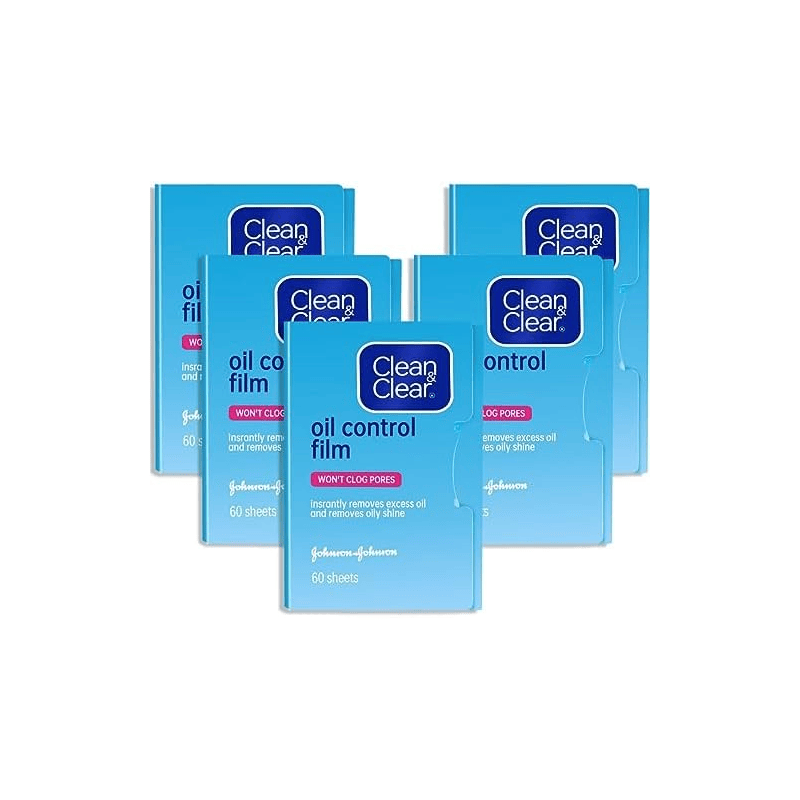
Between photos, blot before you powder, because a blotting sheet like Clean & Clear Oil Absorbing Sheets pressed on your forehead and nose lifts oil without adding another layer. How to blot makeup walks you through it, and our setting sprays for the wedding day comparison covers the sprays that help keep shine down.
Your wedding has more than one kind of light
| Light | What it shows | What to do about it |
| Window light while getting ready | Texture, peach fuzz, unblended edges | Thin base, blended down the jaw and neck |
| Midday sun, outdoor ceremony | Heavy foundation and shine | Light layers, matte T-zone, a sunscreen you’ve flash-tested |
| Late-afternoon portraits | Very little; warm, low sun is flattering | Blot and reapply lip color first |
| Indoor reception with flash | Flashback, T-zone hotspots, washed-out color | Blot, refresh blush, go easy on powder |
Daylight shows every extra layer, and flash shows shine and the wrong powder, so a look that works for both has a skin-like base, clear definition and shine under control. If your day goes from an afternoon ceremony to a dark reception, plan a quick five-minute refresh in between to blot, add a little blush and redo your lips.
It’s smart to ask your photographer how they shoot, since natural light and direct flash treat a face very differently. Airbrush makeup can look beautifully even on camera, though a skilled artist gets a similar result with a brush and sponge, and our airbrush makeup verdict weighs whether to pay for it.
Matching your base to a white dress
A white dress works like a reflector under your chin, and it’s the brightest thing in the photo. So a foundation that’s a little pink, a little yellow or half a shade too light stands out much more next to white than it ever would next to a gray T-shirt.
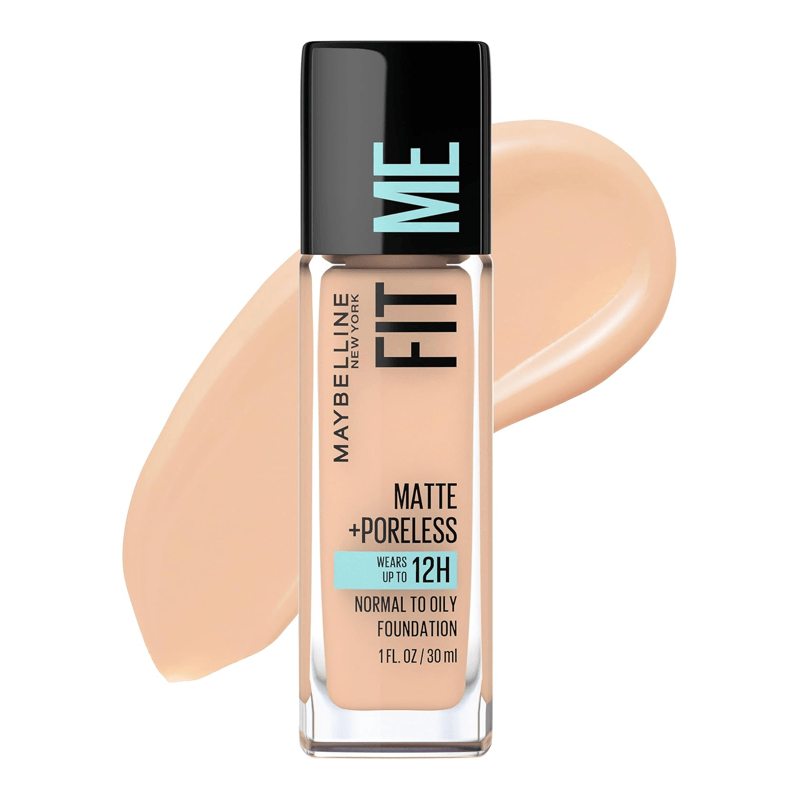
Match your foundation to your neck and chest, not the middle of your face. Faces are often a bit lighter or redder than the skin below them, and an open neckline shows a lot of that skin, so check your match in daylight while wearing a white top. A drugstore base with no SPF on the label and a soft-matte finish, like Maybelline Fit Me Matte + Poreless Foundation, also keeps T-zone glare down.
Blend a little base or bronzer over your jaw, neck and collarbones so you don’t end up with a floating face. If you plan to self-tan, have it on and settled before the trial, so your foundation shade gets picked against your real wedding-day color. Our gradual self-tanner guide covers the low-risk options. And set anything near your neckline well, because makeup rubs off on white fabric really easily.
The phone flash test
It takes ten minutes, and it’ll tell you more than any ingredient list ever could.
Step 1: Do the full look. Put on your whole face, with sunscreen if you’ll wear it, and slip on a white top.
Step 2: Shoot in two kinds of light. Take photos by a window in daylight, then head into a dim room and take several with the flash on, some at arm’s length and some from across the room.
Step 3: Look closely. Is your face paler than your neck and chest? Are there white patches under your eyes or around your nose, or glare on your forehead? Do your brows, cheeks and lips still show, or has the color faded away?
Step 4: Swap one thing at a time. A phone flash is harsher than the softer light most pros use, so treat this as your worst case. If something fails, change one product and test again, starting with powder, then sunscreen, then foundation. The rest of the trial checklist is in our bridal makeup trial guide.
Whatever passes becomes your plan, and nothing new goes on your face on the day.
Your plan by venue and skin type
If you’re getting married outside in daylight, keep the sunscreen and pick one that passed your flash test, because hours of sun on bare skin is a worse trade than a small flashback risk you can check ahead of time.
If your whole day is indoors and after dark, a base without SPF and a light hand with powder makes sense, since flash will light most of your photos.
If you have oily skin, blot first and powder only your forehead, nose and chin. Powdering your whole face again and again builds exactly the thick layer that tends to flash back.
If you have a deeper skin tone, reach for a tinted setting powder over a stark white one, because any pale cast shows up sooner and stronger on deeper skin.
If your dress is strapless or low-cut, match your foundation to your chest and blend it past your jaw, since the camera sees your face, neck and collarbones as one surface.
Even if your photographer edits everything, fixing a white cast across hundreds of photos is slow work, and your guests’ phone pictures never get edited at all. Take the ten minutes at your trial, then build the rest of your look with our bridal makeup guide or browse the makeup archive for more.


